

How to Prepare Uneven Subfloors Properly
- Modeco Interiors

- 5 days ago
- 6 min read
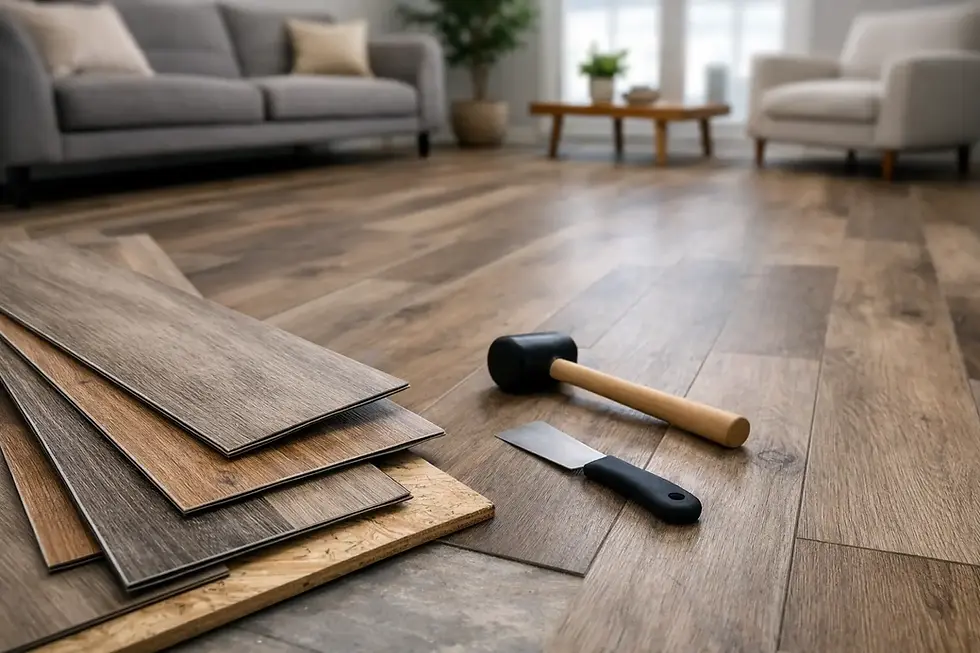
A new floor can look superb in the showroom and still disappoint at home if the surface underneath has been ignored. LVT that shows ridges, laminate that flexes underfoot, or carpet that wears too quickly often comes back to one issue - not knowing how to prepare uneven subfloors properly before installation.
Subfloor preparation is not the glamorous part of a flooring project, but it is one of the most important. If the base is uneven, damp, cracked or unstable, even a premium floor covering will struggle to perform as it should. The right preparation protects your investment, improves the finish and helps your chosen flooring last longer.
Why uneven subfloors cause so many problems
Most floor coverings are only as good as the surface beneath them. A slight hollow or raised patch may not look serious at first glance, but once a new floor is fitted, those imperfections can become much more obvious.
With luxury vinyl tile and sheet vinyl, even small undulations can telegraph through the surface. Engineered wood and laminate may creak, bounce or separate if the base is not sufficiently flat. Tiles are particularly unforgiving, as movement or uneven support can lead to cracked grout or broken tiles. Carpet is a little more forgiving visually, but an uneven subfloor can still affect comfort, wear and the quality of the installation.
This is why professional fitters do not treat subfloor prep as an optional extra. It is part of doing the job properly.
How to prepare uneven subfloors: start with the right assessment
Before any levelling compound is mixed or any boards are replaced, the first step is to understand what sort of unevenness you are dealing with. Not all subfloors fail in the same way, and the correct solution depends on both the subfloor type and the floor finish going on top.
In most homes, the subfloor will be either concrete or timber. Concrete bases often suffer from dips, high spots, cracking, old adhesive residue or moisture issues. Timber subfloors may have loose boards, springy areas, squeaks, height differences between boards or damage caused by age and wear.
A proper assessment usually looks at flatness, strength, dryness and cleanliness together. A floor may be level overall but still unsuitable because it has localised high spots. Equally, a floor may appear reasonably flat but have movement that will cause problems later. This is where experience matters, because the best preparation method depends on what is happening beneath the surface, not just what can be seen at the doorway.
Concrete subfloors need more than a quick skim
Concrete subfloors are common in ground-floor rooms, extensions and many commercial spaces. They can provide an excellent base, but only if they are sound and correctly prepared.
The first job is usually to remove anything that interferes with adhesion or levelling. That might include old vinyl, tiles, paint, adhesive residues or debris. Once the surface is clean, high spots can be ground down and cracks assessed. Hairline cracks are not always a major issue, but wider cracking may point to movement or weakness that needs more attention before a new floor goes down.
If the floor has dips or inconsistent areas, a smoothing or self-levelling compound is often the best solution. This creates a flatter, more uniform surface and is particularly important for LVT, vinyl and tiles, where finish quality depends heavily on the condition of the subfloor.
Moisture should never be overlooked. A concrete floor may look dry and still contain enough moisture to affect adhesives and floor coverings. In some cases, a damp proof membrane or moisture management system is needed before levelling begins. Skipping this step can lead to lifting, warping or failure later on.
Timber subfloors need stability first
Timber subfloors are different because movement is often the bigger issue. Floorboards and sheet timber can flex, creak or sit unevenly after years of use. Levelling compounds can help in some situations, but they are not a cure for a subfloor that is structurally unsound.
The starting point is to secure any loose boards and replace any damaged sections. If boards have significant height variation, sanding high spots may help. In other cases, overboarding with a suitable plywood can create a more stable and consistent surface for the new floor.
This is particularly common when fitting luxury vinyl tile over old floorboards. Without the right preparation, the pattern of the boards and joints can show through over time. A properly installed smoothing layer or overboarding system reduces that risk and gives the finished floor a much cleaner appearance.
With timber, ventilation and moisture conditions also matter. If there are underlying damp issues or poor airflow beneath suspended floors, these should be addressed as part of the wider preparation process.
Matching the preparation to the flooring type
One of the biggest mistakes in flooring projects is assuming there is a single method for how to prepare uneven subfloors. The truth is that the right approach depends heavily on what you plan to install.
LVT demands a very smooth, stable base. Because the material is relatively thin, imperfections underneath can become visible in the finished floor. This is why LVT installations often require detailed subfloor preparation, including smoothing compounds and careful moisture control.
Engineered wood and laminate still need a flat subfloor, but the tolerance can differ depending on the product and fitting method. Minor imperfections may sometimes be managed with the right underlay, but underlay is not there to hide a poor subfloor. If the surface is too uneven, the boards may move, separate or wear badly at the joints.
Carpet is more forgiving visually, yet comfort and durability still rely on a suitable base. Uneven areas can affect underlay performance and create soft spots or premature wear patterns. Tiles are arguably the least forgiving of all, as they need a rigid, flat base with very little movement.
That is why good flooring advice should never separate product choice from installation conditions. The best-looking option on display may need more preparation than expected in your home, and that is worth knowing before the project begins.
Common subfloor repairs that may be needed
Once the assessment is complete, the repair stage becomes clearer. Some uneven subfloors need only minor corrective work, while others need a more involved build-up before they are ready.
Typical repairs include grinding down raised areas, filling cracks, applying smoothing compounds, replacing damaged boards, screwing down loose timber, overboarding unstable floors and treating moisture risks. In some cases, thresholds between rooms also need adjustment so that the floor runs neatly and safely from one space to another.
There is always a balance to strike between achieving the ideal surface and keeping the project practical. A heavily uneven subfloor may require more preparation cost upfront, but that often saves far more than it costs by avoiding failure, rework or dissatisfaction later.
When DIY preparation can go wrong
It is understandable that some homeowners consider tackling subfloor prep themselves, especially if the unevenness looks minor. But this is one of those stages where hidden issues are common and the consequences show up after the new floor is fitted.
Using the wrong compound, failing to prime properly, ignoring moisture, or trying to lay over movement in a timber floor can all create problems that are expensive to put right. Even a well-fitted floor covering cannot compensate for a poor base.
This is particularly true with premium branded flooring, where the finish is expected to look precise and perform well for years. A professional installation is not just about neat cutting and tidy joints. It starts much earlier, with knowing how to prepare the surface correctly for that specific product and room.
Why professional subfloor preparation gives better results
A professionally prepared subfloor gives you confidence in the whole flooring project. It helps the floor sit properly, look better from day one and cope more effectively with daily wear.
For homeowners investing in quality flooring, that matters. Whether you are updating a single room or renovating an entire property, preparation is what turns a good product into a good result. It also allows accurate advice on what is realistic for your space, your subfloor condition and your budget.
At Modeco Interiors, this kind of preparation is part of the wider service-led approach customers value - expert guidance, careful measuring and installation that is built around long-term performance, not shortcuts.
A better floor starts below the surface
If your existing floor feels uneven underfoot, shows signs of movement or has visible dips and damage, it is worth dealing with that before choosing your final finish. The floor you see every day depends on the surface you do not. Get that part right, and everything above it has a far better chance of looking beautiful and lasting well.


Comments